

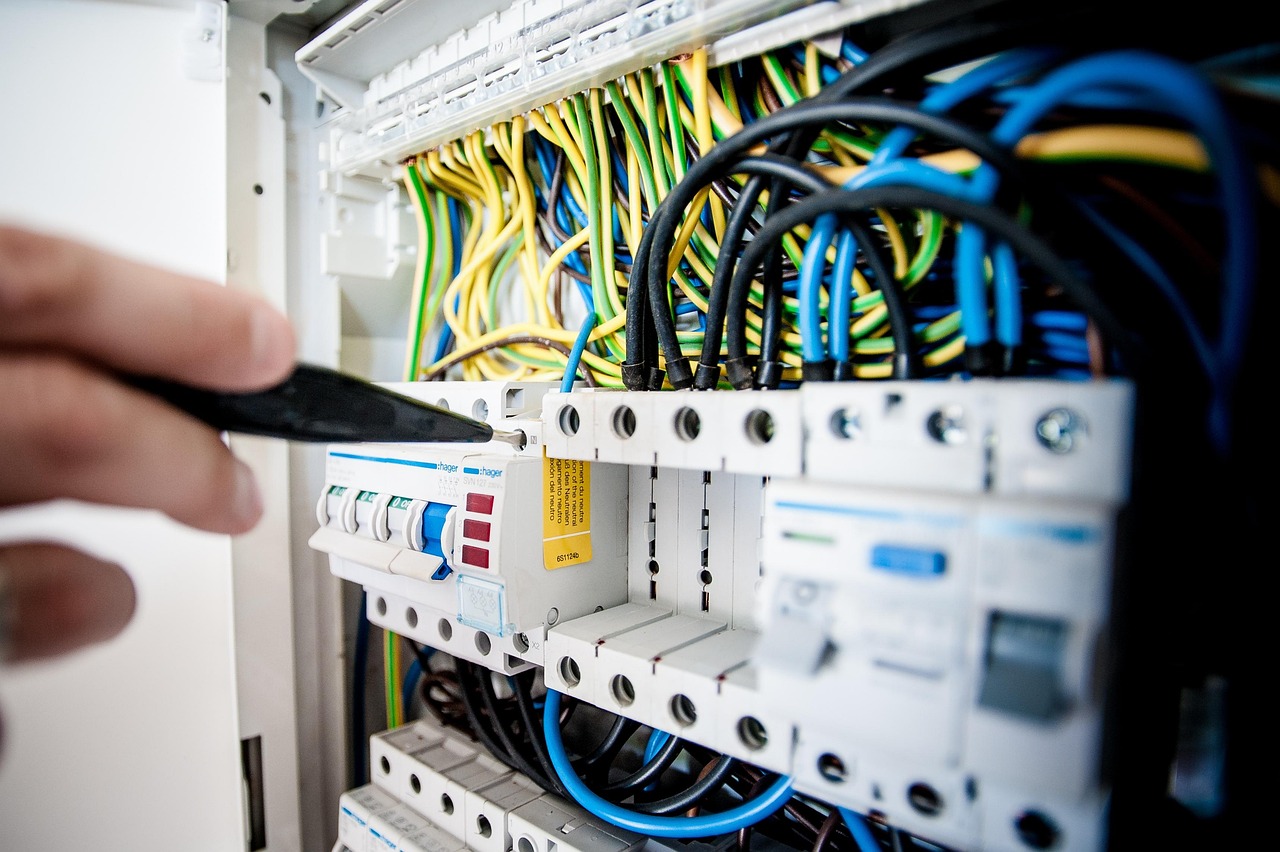
When it comes to home maintenance, electrical issues can be intimidating. However, with the right knowledge and safety precautions, many common electrical problems can be safely repaired by homeowners. In 2025, DIY electrical repairs are more accessible than ever, with the availability of online resources, safety tips, and modern tools. That said, safety should always be your top priority when dealing with electricity. Here’s a guide to help you safely fix some of the most common electrical issues around the house.
1. Tripped Circuit Breaker
A tripped circuit breaker is one of the most common electrical issues, often caused by an overload of electricity or a short circuit. If an appliance or device is drawing more power than the circuit can handle, the breaker will trip to prevent overheating and potential fires.
How to Fix It:
- Step 1: Turn off all appliances and devices connected to the affected circuit. This helps prevent further damage when the power is restored.
- Step 2: Locate your circuit breaker panel and identify the tripped breaker (it will be in the “off” position or somewhere between “on” and “off”).
- Step 3: Switch the breaker to the “off” position, then back to “on.” This should reset the breaker and restore power.
- Step 4: If the breaker trips again after resetting, you may have an overloaded circuit or a faulty appliance. Try unplugging devices or testing them one by one to identify the cause.
Safety Tip: Always use one hand when resetting a breaker to minimize the risk of shock, and avoid standing on wet surfaces.
2. Flickering or Dimming Lights
If you notice flickering or dimming lights, it could be due to a loose connection, an overloaded circuit, or a faulty light fixture. While this can be an annoyance, it’s generally a fixable issue.
How to Fix It:
- Step 1: Check the light bulb to ensure it’s properly installed and isn’t loose. If the bulb is old or damaged, replace it.
- Step 2: If the problem persists, check the light switch for any signs of damage. Tighten any loose screws or consider replacing the switch if necessary.
- Step 3: If dimming or flickering occurs throughout the house, check your electrical panel for overloaded circuits or issues with the main wiring.
Safety Tip: Always ensure the power is turned off before working on light fixtures or switches. Use a voltage tester to check if the wires are live before touching them.
3. Faulty Outlet or Switch
A faulty outlet or switch can cause issues such as electrical shocks, flickering lights, or even failure to power devices. These issues are typically caused by loose connections, damaged wiring, or worn-out outlets.
How to Fix It:
- Step 1: Turn off the power to the circuit by switching off the breaker associated with the outlet or switch.
- Step 2: Remove the outlet or switch cover and use a voltage tester to ensure there is no power running through the wires.
- Step 3: Inspect the connections for any loose wires or signs of damage. Tighten any loose screws or replace any worn-out components.
- Step 4: If the outlet or switch is damaged beyond repair, replace it with a new one. Install the new unit by following the manufacturer’s instructions carefully.
Safety Tip: Always double-check that the power is completely off before working on outlets or switches. If you are not comfortable with electrical work, consider calling a professional.
4. Burning Smell or Discolored Outlets
A burning smell or discolored outlets are signs of potential electrical overheating or short circuits. This could indicate a serious issue that requires immediate attention. Never ignore these signs.
How to Fix It:
- Step 1: Immediately turn off the power at the breaker to prevent further damage or potential fires.
- Step 2: Inspect the outlet for any visible signs of damage, such as burn marks or melted plastic. If you notice any signs of damage, replace the outlet right away.
- Step 3: Check the wires connected to the outlet for any signs of fraying or wear. If the wiring is damaged, it must be replaced by a qualified electrician.
- Step 4: Consider consulting an electrician to ensure there are no underlying electrical problems, such as overloaded circuits or faulty wiring.
Safety Tip: If you notice a burning smell or see smoke, evacuate the area immediately and contact a licensed electrician. Do not attempt to fix the issue without turning off the power first.
5. GFCI Outlet Not Resetting
A Ground Fault Circuit Interrupter (GFCI) outlet is designed to protect you from electrical shocks by shutting off power when a fault is detected. If the GFCI outlet isn’t resetting, it could be due to a fault in the wiring or a defective outlet.
How to Fix It:
- Step 1: Ensure the outlet is not overloaded. Unplug any devices that might be connected to the outlet and press the reset button again.
- Step 2: Check the circuit breaker and reset it if necessary. Sometimes, the breaker might trip due to an overload or short circuit.
- Step 3: If the outlet still doesn’t reset, it could be damaged or have an internal wiring issue. In this case, replace the GFCI outlet with a new one.
Safety Tip: GFCI outlets are safety features, so it’s important to ensure they are working properly. If you’re unsure about the repair, seek professional help to avoid hazards.
6. Light Switch Not Working
A malfunctioning light switch can be frustrating, especially if it prevents you from turning lights on or off. This issue is often caused by a faulty switch, worn-out wiring, or loose connections.
How to Fix It:
- Step 1: Turn off the power to the switch by flipping the breaker. Verify that the power is off using a voltage tester.
- Step 2: Remove the switch plate and check the connections. Tighten any loose connections or replace any damaged wiring.
- Step 3: If the switch is faulty, replace it with a new one. Ensure that the new switch is installed correctly and the wires are properly connected.
Safety Tip: When replacing a light switch, double-check that the power is off. If you’re unsure about working with electrical components, consider calling an electrician.
7. Overloaded Extension Cords
Using too many devices on a single extension cord can lead to overheating, which can cause damage to the cord and pose a fire risk. If you find yourself frequently using multiple devices on one extension cord, it’s time to address the issue.
How to Fix It:
- Step 1: Unplug all devices from the extension cord and inspect it for signs of wear, such as fraying or exposed wires. Replace the cord if necessary.
- Step 2: Avoid using a single extension cord for multiple high-wattage devices. Use separate cords for each device or upgrade to a heavier-duty extension cord that can handle more power.
- Step 3: For permanent solutions, consider adding more outlets or upgrading your home’s electrical system to accommodate your needs.
Safety Tip: Never daisy-chain extension cords or overload them. Always choose cords rated for the power requirements of the devices you plan to connect.
Final Words
While electrical issues can be intimidating, many common problems around the house can be safely repaired with the right tools and knowledge. Always prioritize safety by turning off the power before making any electrical repairs and use proper equipment such as voltage testers to avoid accidents. If you’re unsure about handling electrical work or encounter a more serious issue, don’t hesitate to call a licensed electrician. With a little preparation and caution, DIY electrical repairs can save you money and keep your home functioning smoothly in 2025.